How to Face Swap in Photoshop
Summarize content with
Face swapping has become incredibly popular for fixing photos and creating fun content. You've probably seen those group photos where someone is blinking or making a weird face, ruining an otherwise perfect shot. Or maybe you want to create something funny for social media.
While there are tons of face swap apps out there, they often produce obvious, fake-looking results. If you want realistic face swaps that nobody can tell were edited, Adobe Photoshop is your best bet.
This guide will teach you two proven methods for swapping faces in Photoshop, plus how to make them look completely natural.
Why Use Photoshop for Face Swapping?
Most face swap apps work automatically, which sounds convenient but limits your control. The results often look obviously edited because the app can't understand the specific lighting, angles, and skin tones in your photos.
Photoshop gives you complete control over every aspect of the face swap. You can match skin tones perfectly, adjust lighting, and blend edges so smoothly that even photography experts won't notice the edit.
What makes Photoshop different:
The Object Selection tool lets you precisely cut out faces and features. Layer masks give you perfect control over blending. The Match Color feature automatically adjusts skin tones between photos.
Most importantly, you can work non-destructively. This means you can always go back and adjust your edits without starting over.
When to use Photoshop face swapping:
Perfect for fixing family photos where someone is blinking or not smiling. Great for creating professional-looking content where quality matters. Ideal when you need precise control over the final result.
The learning curve is steeper than phone apps, but the results are worth the effort.
Method #1: Basic Face Swap with Layer Masks
This method works best when you have two photos with similar composition and lighting. It's perfect for fixing group photos or family portraits.
What you need: Two photos of roughly the same size where both faces are at similar angles and distances from the camera.
Step 1: Set Up Your Layers
Open both photos in Photoshop. You'll have your main photo (the one with the face you want to replace) and your source photo (the one with the good face).
Copy the source photo and paste it as a new layer in your main photo document. Place this new layer below your main photo layer.
Step 2: Align the Photos
Line up the faces in both photos so they match as closely as possible. Use the Auto-Align feature by selecting both layers and going to Edit > Auto-Align Layers. Choose "Auto" and let Photoshop align the images.
This step is crucial because even small misalignments will make your face swap look obvious.
Step 3: Add a Layer Mask
Click on your top layer (the main photo) and add a layer mask by clicking the layer mask icon at the bottom of the Layers panel. Set the layer opacity to 100%.
The layer mask will let you "paint away" parts of the top layer to reveal the layer underneath.
Step 4: Paint Over the Face
Select the Brush tool and make sure black is your foreground color. Set the brush opacity to 100% and choose a soft brush style.
Start painting over the face you want to replace on the layer mask. As you paint with black, that part of the top layer becomes transparent, revealing the face from the layer below.
Work carefully around the edges of the face. You can switch to white paint to bring back parts you accidentally painted away.
Step 5: Refine the Edges
Zoom in and use a smaller brush to clean up the edges around the hairline, ears, and neck. This is where most face swaps look fake, so take your time here.
You can adjust the brush opacity to create softer transitions around difficult areas like hair.
Method #2: Advanced Face Swap with Object Selection
This method works better when your photos have different compositions, lighting, or when you want to swap specific features rather than entire faces.
Step 1: Select the Face
Open your source photo and use the Object Selection tool to select the face you want to use. You can find this tool in the toolbar on the left side of your screen.
Click and drag around the face, and Photoshop will automatically detect and select the facial features. The Object Selection tool is smart enough to follow the contours of the face accurately.
Step 2: Copy and Paste
Once you have the face selected, copy it (Ctrl+C or Cmd+C) and paste it into your main photo as a new layer (Ctrl+V or Cmd+V).
Pro tip: Work with a face that's slightly larger than the one you're replacing. It's easier to scale down than scale up without losing quality.
Step 3: Position and Scale
Reduce the opacity of your face layer to about 50% so you can see both faces at once. This makes it easier to align the features.
Use the Transform tool (Ctrl+T or Cmd+T) to resize and position the new face. Line up the eyes, nose, and mouth as precisely as possible.
Step 4: Fine-Tune the Placement
Gradually move the new face over the original, matching the angle and position of key features. The eyes are the most important to get right because people notice when they don't look natural.
Once everything is aligned, set the opacity back to 100%.
How to Blend and Color-Correct Your Face Swap
This is where amateur face swaps fail and professional ones succeed. Proper blending makes the difference between obvious editing and seamless results.
Match the Skin Tones
Different photos have different lighting and color temperature. Even the same person can look different across photos taken at different times.
Use the Match Color feature by going to Image > Adjustments > Match Color. Select the image you want to match colors from, then gradually adjust until the skin tones look consistent.
Adjust the Lighting
Use the Curves or Levels adjustment to match the lighting between the face and body. If the original photo has soft lighting but your face has harsh shadows, you'll need to adjust accordingly.
Create adjustment layers so you can fine-tune these settings without permanently changing your image.
Blur and Sharpen for Consistency
Photos taken with different cameras or settings might have different levels of sharpness. Use the Blur tool to soften areas that are too sharp, or use Unsharp Mask to add sharpness where needed.
The goal is to make the entire image look like it was taken with the same camera settings.
Blend the Edges
Use Auto-Blend Layers for a quick automatic blend. Select both your face layer and the background layer, then go to Edit > Auto-Blend Layers. Choose "Seamless Tones and Colors."
For more control, manually blend the edges using layer masks and soft brushes. Pay special attention to the jawline, hairline, and ears.
Pro Tips for Natural-Looking Results
Getting professional results takes practice, but these tips will help you avoid common mistakes that make face swaps look fake.
Choose Your Photos Wisely
Similar lighting conditions are more important than you might think. If possible, use photos taken in the same session or similar environments.
Both people should be looking in roughly the same direction. A face looking left on a body looking right will always look unnatural.
Avoid photos with extreme expressions unless both photos have similar expressions. A big smile doesn't fit well on a serious face.
Pay Attention to Proportions
Make sure the face size matches the body proportions. A child's face on an adult body will look weird no matter how well you blend it.
Consider the person's build too. A thin person's face might not look right on a broader body structure.
Work with High-Resolution Images
Low-resolution photos make face swapping much harder and the results look pixelated. Use the highest quality images you have available.
If you need to increase resolution, use Photoshop's "Preserve Details 2.0" option in the Image Size dialog.
Don't Forget the Neck and Ears
Many people focus only on the face and forget about the neck area and ears. These parts need to match too, or your edit will look obvious.
Sometimes you need to include part of the neck or adjust ear visibility to make everything look natural.
Save Your Work in Progress
Use a PSD file format to save all your layers and masks. This lets you go back and make adjustments later without starting over.
Create multiple versions so you can compare different approaches and choose the best result.
Practice Makes Perfect
Your first few face swaps might not look perfect, and that's normal. Each photo presents different challenges, and you'll get better at spotting and fixing issues with practice.
Start with easier swaps (similar photos, good lighting) before attempting more challenging edits.
Face swapping in Photoshop gives you professional-level control that no phone app can match. While it takes more time and effort to learn, the results are worth it when you need realistic, undetectable edits.
Remember to always respect people's privacy and get permission before creating and sharing face-swapped images. Use these techniques responsibly and have fun creating amazing photos that capture everyone at their best.
Share this post
MORE FROM THE BLOG
May 14, 2026 · CONTENT CREATION
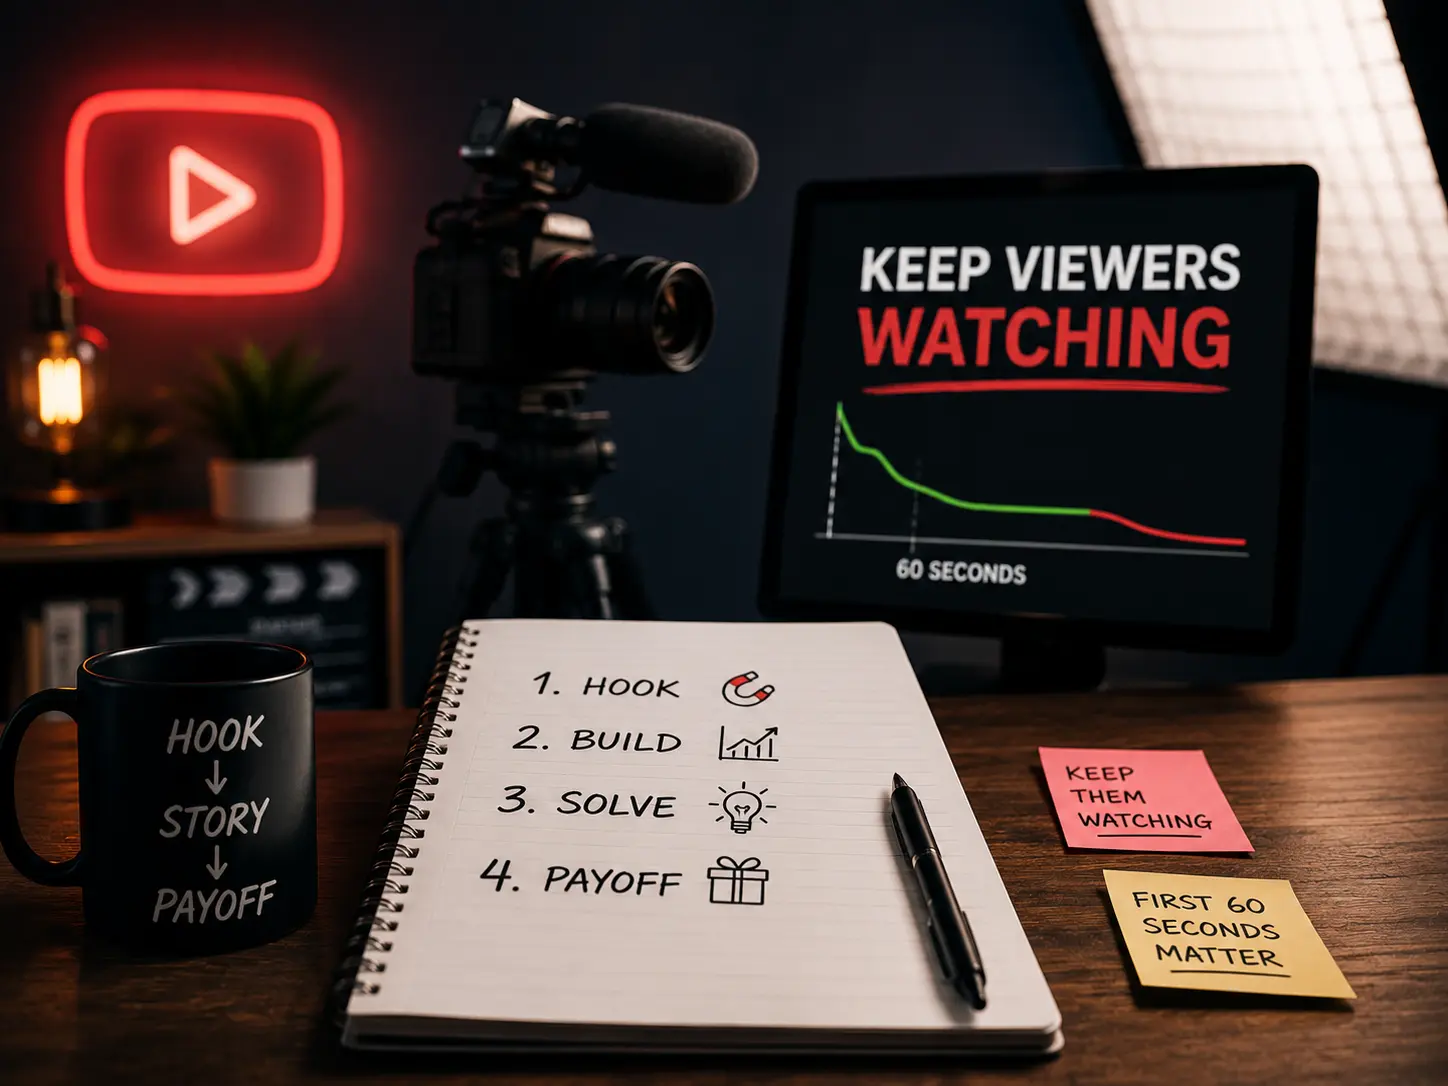
How to write YouTube scripts that keep viewers watching
Most creators write scripts like blog posts. That's why viewers leave in the first 60 seconds. Here's what actually works.

May 3, 2026 · BUSINESS
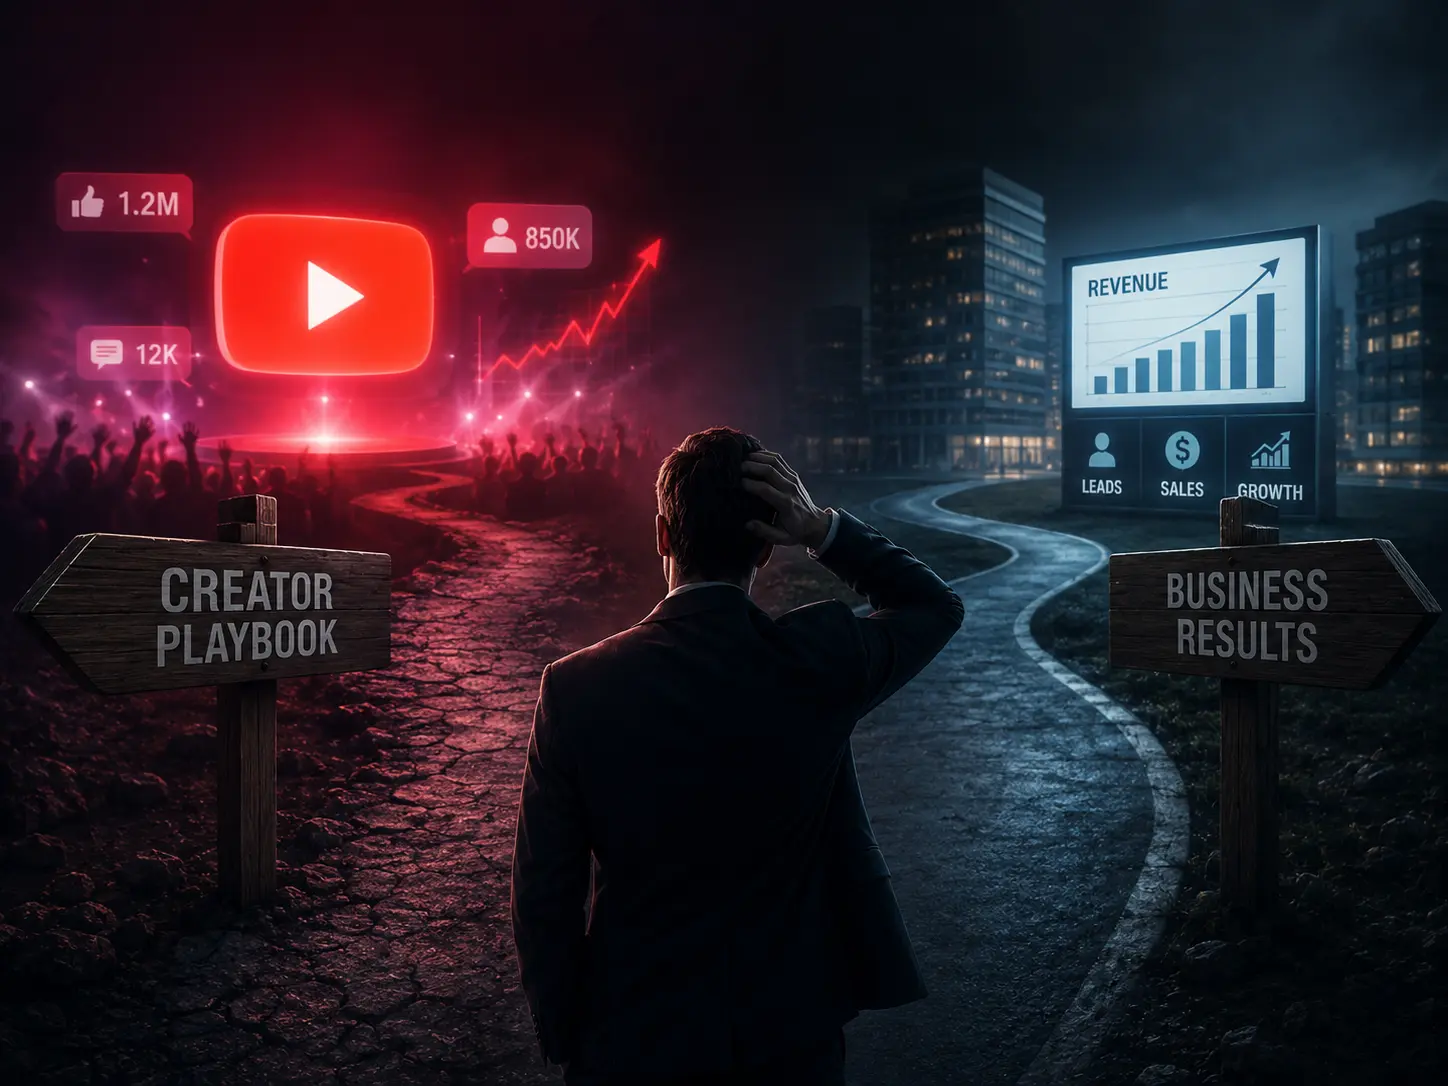
Why most business owners fail at YouTube
The creator playbook doesn't translate to business results. You're studying the wrong game.
April 19, 2026 · BUSINESS
Why every serious business owner I know is building on YouTube
Paid ads stop working the moment you stop paying. YouTube keeps sending leads while you sleep. Here's the math that changes how you think about content.
April 8, 2026 · YOUTUBE
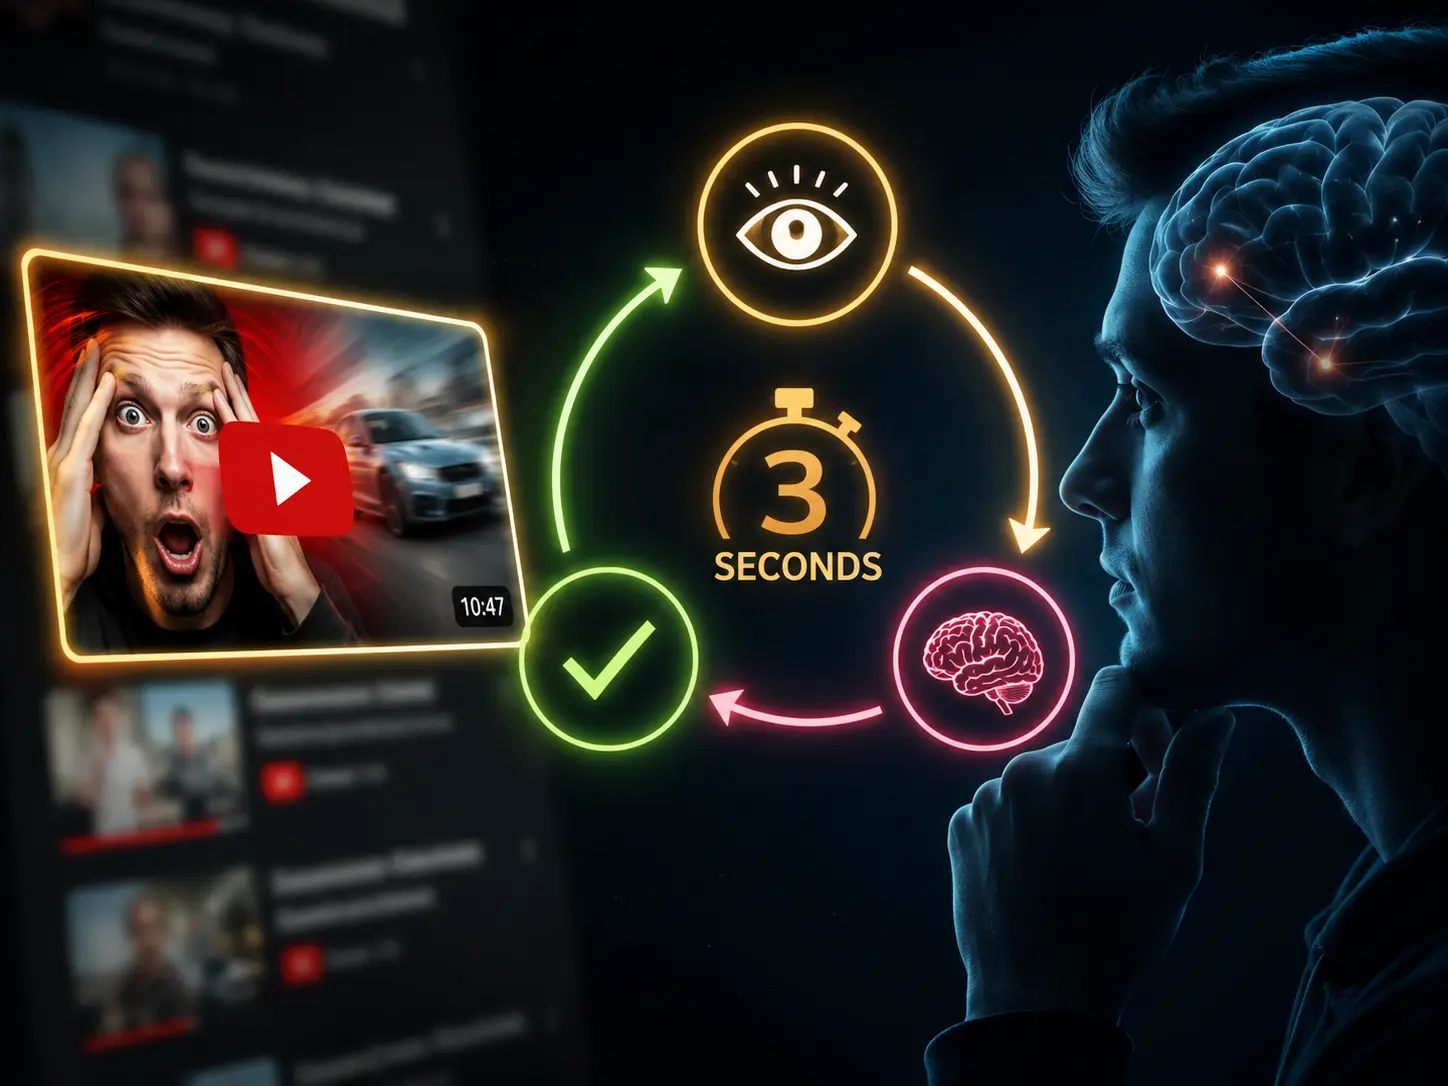
The 3-second psychology loop behind every YouTube click
Every viewer runs through the same decision before clicking. If any step fails, they scroll past. Here's how to make sure all 3 pass.
August 20, 2025 · DESIGN
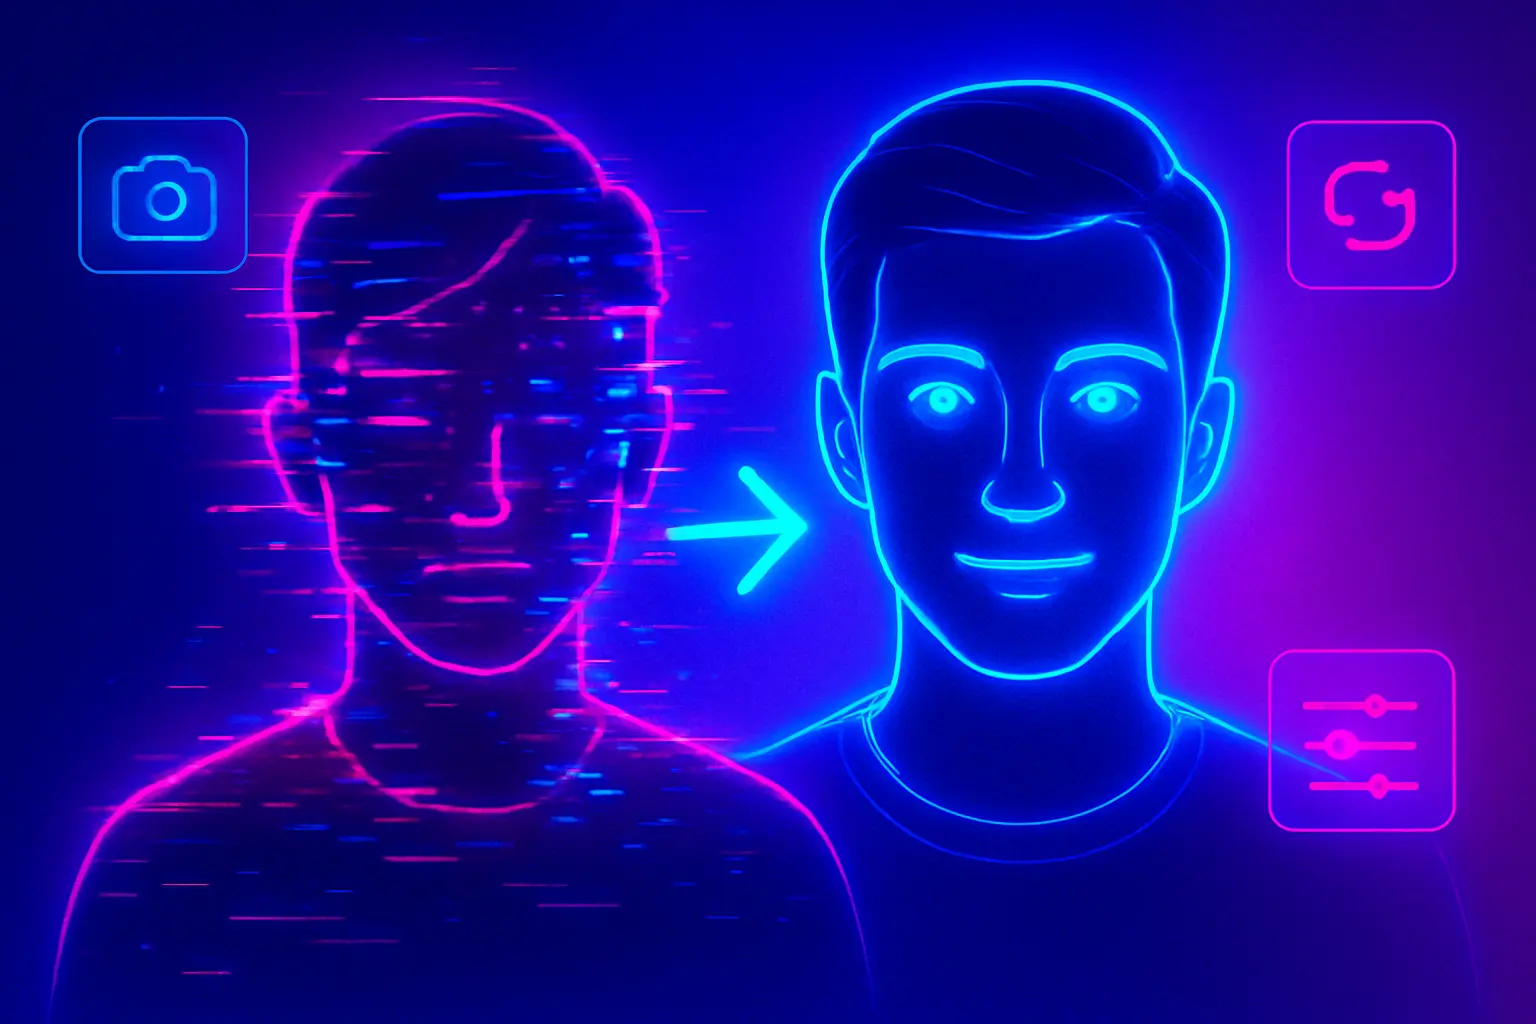
How to AI Face Swap Yourself on Any Thumbnail
A complete step-by-step guide to AI face swapping yourself on any thumbnail using Thumbnail Studio

August 1, 2025 · BUSINESS
The Complete Blueprint for Earning with Anonymous AI Content Creation
From an insider who's spent $10,000+ monthly working with AI creators